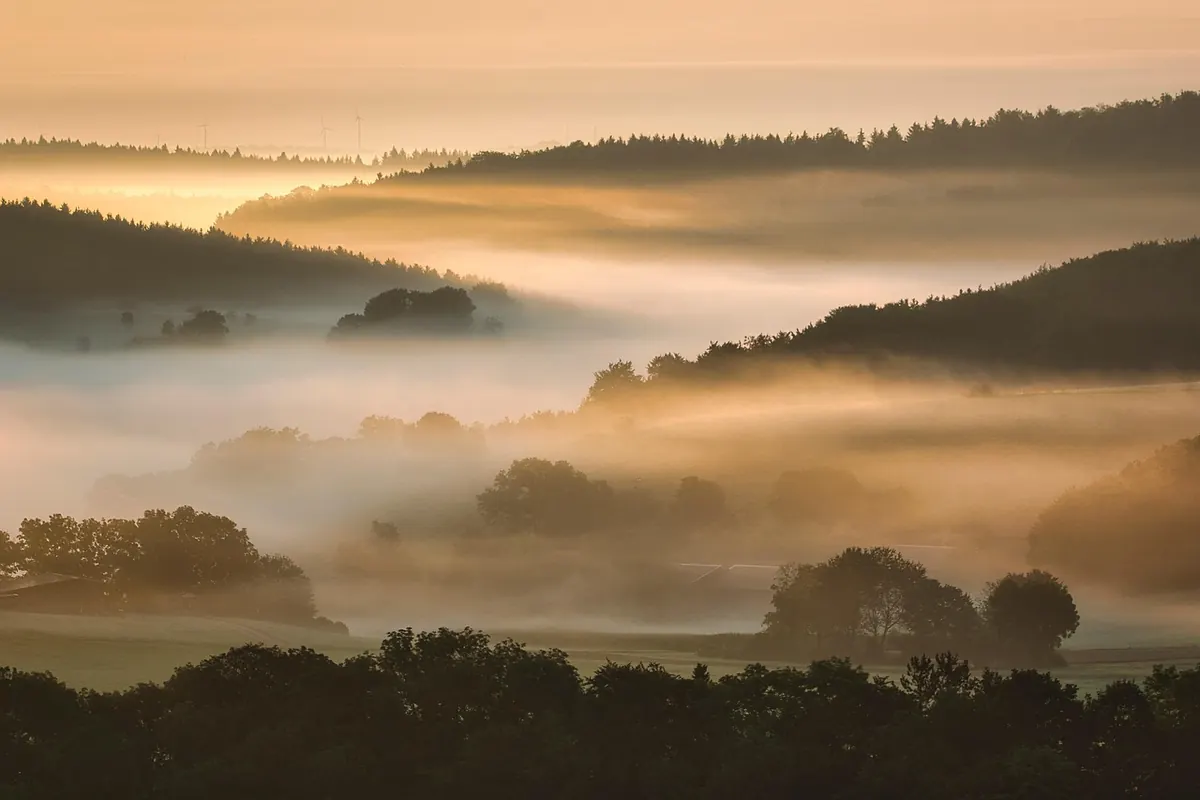
Fog is the one weather condition that photographs better than it feels. Standing in it you are cold, damp and slightly disorientated; half an hour later the frame on the back of the camera shows soft ridges fading into white, a heron reduced to a grey smudge, a gatepost holding the whole thing together. The same scene in sunshine would be unremarkable. Fog does more than sit in front of your subject — it changes the light itself, and once you understand what it is doing, you can stop guessing and start using it.
Fog is suspended water droplets, and every droplet scatters light in all directions. The practical result is that light arrives at your subject from everywhere at once. Instead of a hard sun throwing hard shadows, you get one enormous softbox wrapped around the valley. Shadows lose their edges. Highlights lose their sparkle. Colour drains away in proportion to distance, so a red door two metres away still reads red, while the same red on a barn 200 metres off has become a pale pink-grey.
Contrast collapses, and that is the part that matters most technically. Your meter expects a bright sky and a dark foreground; in fog both sit much closer together in brightness. That is good news — you can often hold detail in the sky and the land at once, which is rare. It also means the meter can be fooled. Fog is usually brighter than it feels, particularly when it is thin and the sun is pushing through it, and many cameras respond by underexposing slightly. Check the histogram rather than the preview. If the graph is bunched to the left, add exposure compensation in steps of about +0.7 EV until the brightest mist sits just below clipping. In snow-covered landscapes under mist, you may need more.
Fog is famous for concealing things, but in a photograph it usually creates depth. This is aerial perspective at work: our eyes read tone as distance, because the further away something is, the more atmosphere sits between it and us. A distant ridge on a clear day is just a small ridge. The same ridge in fog becomes a pale grey silhouette stacked behind darker shapes nearer to you, and the brain instantly sorts those tones into near, middle and far.
So the trick is to give the fog layers to work with. Ridges, hedgerows, jetties, fence lines, trees standing at intervals along a bank — anything that recedes into the frame will separate into bands of tone. Two or three layers is enough; five is a gift. And you need one solid anchor in the foreground: a rock, a post, a bare branch, a boat. Without something dark and definite, a foggy frame collapses into flat grey mush with no sense of scale.
Different fog behaves differently, and knowing the type tells you how long you have before the light changes.
A quick glance at the forecast helps: a clear night, light wind, high humidity and a dew point close to the air temperature all point towards mist by morning. Damp ground after rain improves your chances further.
Fog compresses the tonal range, so you can afford settings that would be risky in brighter, contrastier light. Start here and adjust:
Telephoto lenses are your friends. A 100–400mm compresses layers into a tight stack of overlapping ridges, which is exactly the effect fog does best. Wide-angle lenses have their place, but they tend to make mist look thin and unremarkable, so use them when you have a strong foreground — wet stones, a jetty, a gate — to carry the bottom third of the frame.
Backlight is worth chasing. Put the sun slightly off-axis, or let it glow just behind a tree line, and the mist becomes luminous, with faint shafts running through it. Keep the sun out of the frame or check live view carefully for flare; a lens hood helps, and so does a hand held just above the front element.
Small practicalities matter more than usual. Let your gear acclimatise before you leave the car, or condensation will fog the lens from the inside. Keep a microfibre cloth and a blower in a dry pocket, and resist wiping the front element after every frame — a few droplets catch the light and add glow, while a smeared lens just softens everything. Cold drains batteries faster, so carry a spare somewhere warm.
The mistake with fog files is over-correcting them. Fog scenes contain no true black, and if you drag the black point down until you find one, you will kill the atmosphere you went out in the cold for. Lift shadows gently, leave the deepest tones as dark grey, and use a gentle curve to add a little separation in the midtones instead. Avoid the clarity and texture sliders — they exaggerate noise and break up the smooth gradients that make mist look like mist. A slight cool tint in the shadows and a touch of warmth in the highlights is often all the colour work you need.
Before you set the alarm, run through this:
Get it right and fog will do half the work for you, softening the light, hiding the clutter and handing you depth that no clear morning can match.
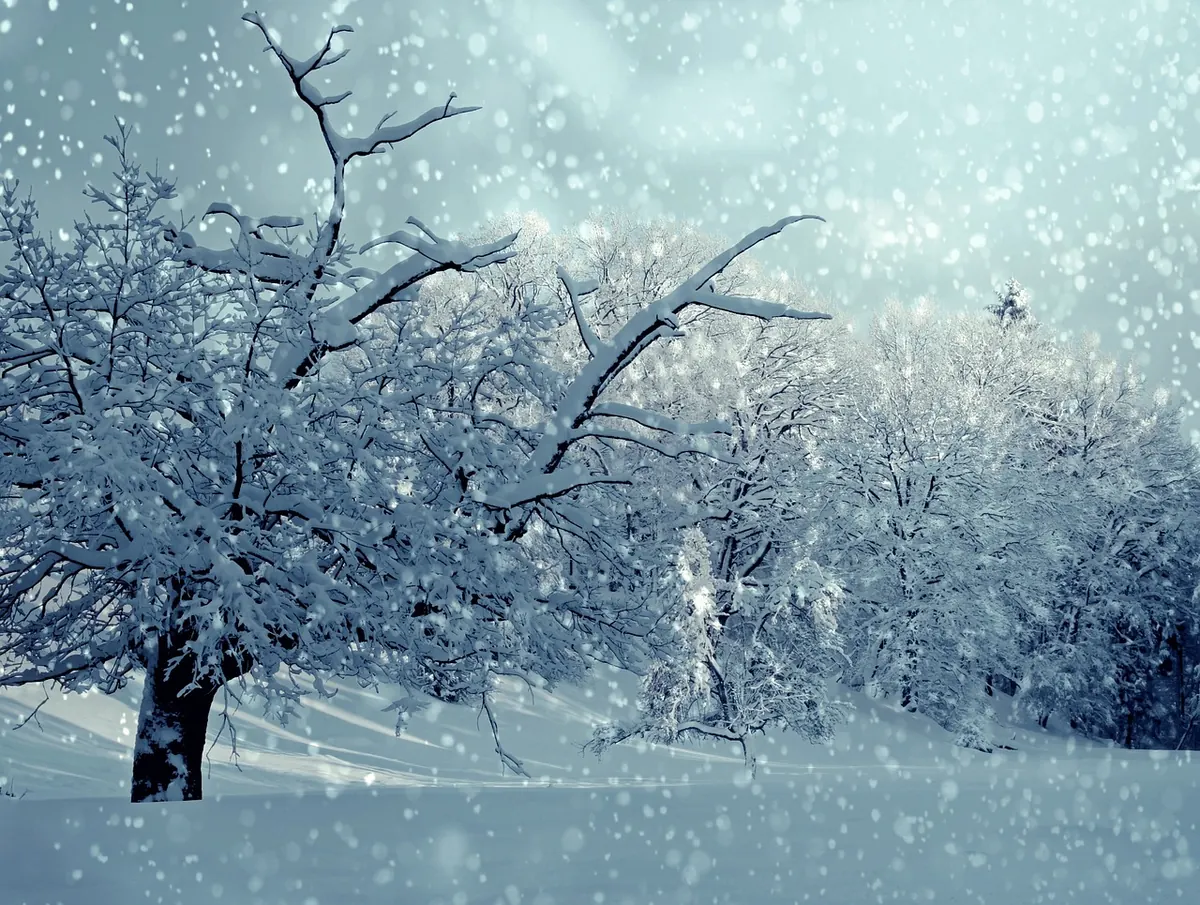
Photo: Nordseher / Pixabay
A practical packing guide for nature photographers heading into the British outdoors, covering cameras, lenses, rain...
How to find, time and photograph Lake District fog — accessible viewpoints from Buttermere to Tarn Hows, exposure...
A practical guide to photographing Britain's spring wildflowers: reading the bluebell season, working with soft...

Exploring misty landscapes and quiet natural places.
