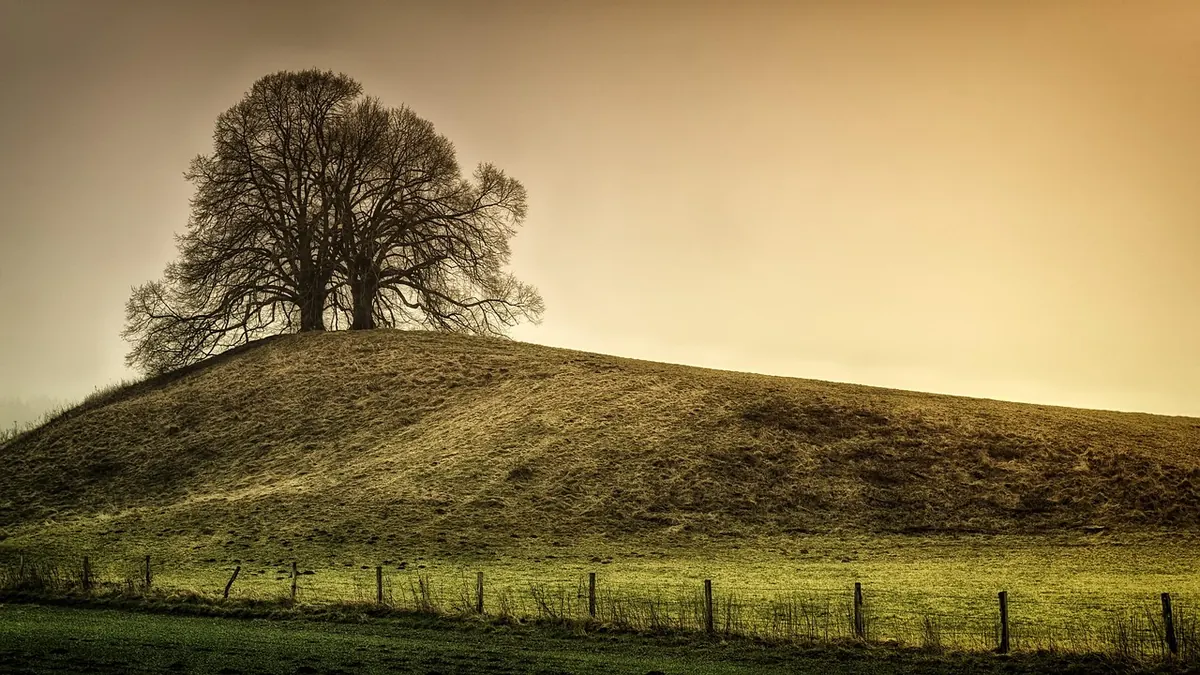
Fog is generous and unforgiving in equal measure. It strips a scene back to shape and tone, hides the clutter, and turns a field you have walked past a hundred times into something that stops you in your tracks. It also breaks most of the habits that work in ordinary light. Metering goes wrong, contrast collapses, and a frame that looked promising on the back of the camera turns out to be a soft grey nothing. The errors are predictable, though. Here are the ones that catch people most often, and how to fix them.
Your meter does not know it is looking at fog. It assumes the scene averages out to a mid-tone, and in bright mist that assumption drags everything down. The camera renders luminous grey-white fog as something dull and dingy, while the darker parts of the frame slide towards black. The result looks nothing like the morning you were standing in.
The fix is straightforward: take control of the exposure yourself. Start with +1 stop of exposure compensation and check the histogram. In thick, bright fog you may need +1.5 or even +2. The peak should sit in the right half of the histogram, with a little space before the right edge so the brightest patches don't clip. Trust the histogram rather than the LCD, whose brightness changes with the ambient light.
Don't be alarmed if the fog looks almost too bright on the back of the camera. It should feel luminous. A slightly bright raw file is far easier to work with than one with crushed shadows and grey mush in the midtones.
It is tempting to find a subject, then shoot it in fog as though the mist were a filter. Fog changes what the photograph is about. It is about depth, distance and disappearance, and the light direction matters enormously: backlit fog glows, frontlit fog sits flat and grey. Walk around the scene and look towards the sun where you can.
Fog removes colour contrast, texture and fine detail in one go. What remains is tone and shape, so composition has to do more work with less. Frames fail when the middle distance is one even grey with nothing darker or lighter inside it; the eye simply slides off the picture. Give it an anchor — one shape that clearly reads against the mist.
Move your feet before you change anything else. Ten metres along a path can put a distinct branch against a pale patch instead of merging it into a darker mass behind. Watch the edges of the frame, too: stray twigs that read as dark smudges are far more noticeable against fog than against a busy scene. Simplify ruthlessly. One tree usually beats five.
Fog flattens distance cues, so without something close to the lens everything occupies the same plane. Get low and get close. Reeds, wet stones, a fence rail, frost on grass or the edge of a puddle all tell the eye where the ground sits and how far away the misty distance really is.
Close foreground plus a distant subject means depth of field matters. Something around f/8 to f/11 is usually a sensible compromise; focus a third of the way into the scene rather than on the nearest blade of grass, and check the result at 100% before moving on. Avoid the trap of including a muddy path just because it happens to be there. Foreground should add shape, line or texture, not simply fill the bottom third of the frame.
Fog takes colour from whatever it sits in: cool blue before dawn and in shade, green beneath trees, a warm glow near streetlights at night. Auto white balance drifts from frame to frame, which makes a set of images look inconsistent. Set a fixed value — daylight is a reasonable starting point — or shoot raw and correct later. Then decide on the mood. Cool blue-grey suits a cold, still morning; a little warmth suits fog with sun burning through it.
Processing is where foggy frames often get ruined. Low contrast invites heavy use of clarity and dehaze, which produces halos around branches and destroys the softness that made the scene worth photographing. Keep local contrast gentle, lift the shadows only slightly, and leave the darkest tones genuinely dark. Fog needs something to sit against.
Then there are the practicalities of shooting in damp air. Condensation on the front element is the most common and most misdiagnosed problem in fog; a soft, low-contrast frame is often just a foggy lens. Let the camera acclimatise, or keep it in the bag until it has reached the outdoor temperature, and wipe the glass with a clean microfibre cloth every few frames. Don't change lenses in the open. Autofocus hunts badly in low contrast, so switch to manual focus and use live view magnification to confirm. Soft light also means slow shutter speeds come easily — a tripod and the two-second timer will do more for sharpness than raising the ISO. And remember that fog moves: around a quarter of a second softens drifting mist into a wash, while 1/250 freezes it into visible texture. Both are worth trying.
Fog rarely lasts, and the best of it is usually in the first hour after sunrise as the light lifts behind the mist. Arrive early, work quickly, and use a settled sequence so you are not wasting good light fiddling with settings.
Then stop and look. Fog reorganises a scene by the minute — a gap opens, a shape appears, the whole view shifts. The photographers who do well in it are simply the ones who are set up, correctly exposed and paying attention when that happens.
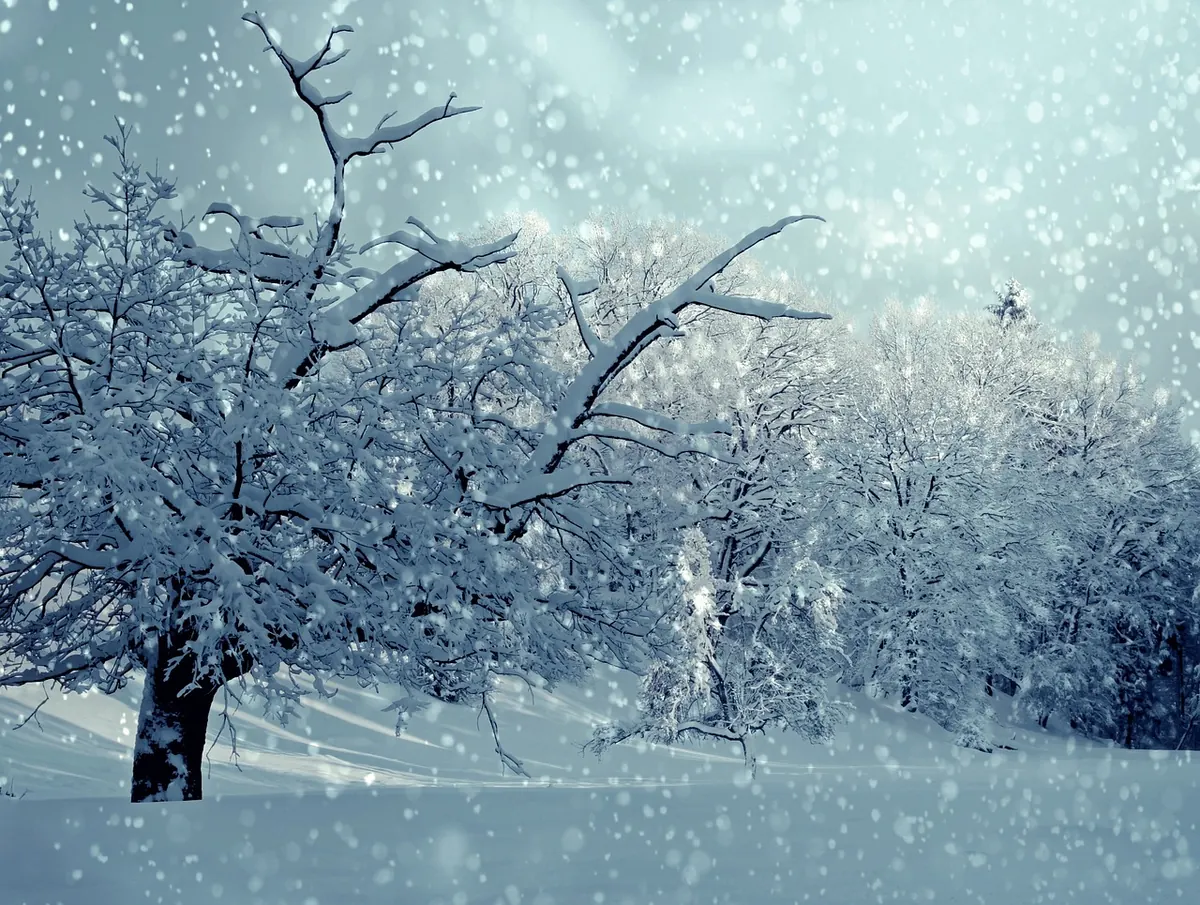
Photo: jplenio / Pixabay
A practical packing guide for nature photographers heading into the British outdoors, covering cameras, lenses, rain...
How to find, time and photograph Lake District fog — accessible viewpoints from Buttermere to Tarn Hows, exposure...
A practical guide to photographing Britain's spring wildflowers: reading the bluebell season, working with soft...

Exploring misty landscapes and quiet natural places.
