You spot a barn owl hunting along a field margin at dusk. You frame it, press the shutter, and the preview shows a white smear against a dark hedge: the bird blown out, the background mud. Nothing about the composition was wrong. The camera simply made a decision about brightness that you never had a say in. Learning how metering and exposure work gives you that say back.
This guide covers the metering modes most cameras offer, how exposure compensation steers them, and how the histogram tells you the truth when the rear screen cannot. It is aimed at anyone moving off automatic and wondering why their photographs of landscapes, wildlife and plants so often come out too dark or too bright.
Your camera's meter does not know what you are photographing. It measures the light reflecting off the scene and assumes the result should average out to a mid-tone — a middle grey, roughly the brightness of a sunlit lawn or a grey card. That assumption is right more often than you would think, which is why fully automatic exposure works at all.
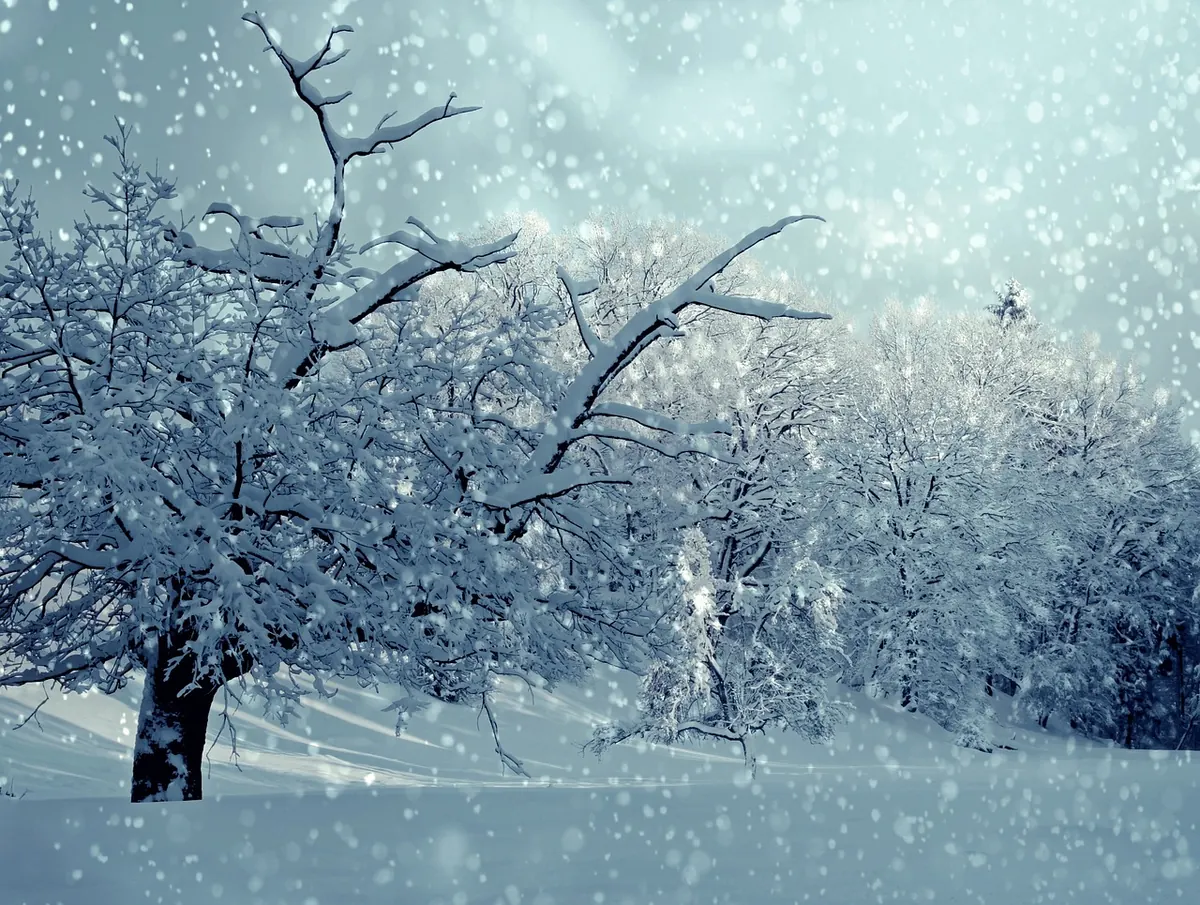
It fails predictably in two directions. Point the camera at a snowfield, a bright beach or a white swan on water and the meter darkens everything to make it mid-grey, giving you dull, grey snow. Point it at a dark forest floor, a black dog or a shadowed rock pool and it brightens everything, producing washed-out blacks. This single idea — the meter aims for mid-grey — explains most of the exposure problems you will meet outdoors.
Most cameras let you choose how much of the frame the meter reads. The names vary between brands, but they behave in broadly the same way.
Spot metering rewards precision. Place the spot on a bright highlight and you will get a dark exposure; on a shadow, a bright one. Many cameras let you lock exposure with a button, so you can meter off a patch of sunlit grass, recompose and shoot. Find that button on your own camera before your next outing.
Changing metering mode fine-tunes how the camera thinks. Exposure compensation overrides its conclusion. It shifts brightness up or down, usually in a range of plus or minus three to five stops, in steps of a third.
The rule of thumb: for bright scenes, add light. Snow, sea spray, white wildflowers on a sunny day and pale limestone all want roughly plus two-thirds to plus one and a half stops. For dark scenes, take light away. A blackbird in shade, a shaded woodland stream or a dark peaty pool want minus one or two stops to keep their weight. If you shoot JPEG this is essential; with raw files you can recover a certain amount later, but the more accurate you are at the point of capture, the better the detail and colour will hold.
Check the screen, but do not trust it absolutely. Rear screens vary in brightness with ambient light, and a photograph that looks perfect in a shaded car park can look flat and grey when you get home.
The histogram is a graph of tones running from pure black on the left to pure white on the right, with the height showing how many pixels sit at each brightness. It is far more dependable than the preview image.
There is no single correct shape. A low-key image of moss on a shaded boulder should sit mostly to the left; a high-key shot of sunlit birch bark should sit mostly to the right. What matters is that the tones you care about are not crushed at either end.
Bright skies are the usual problem. Meter for the land, not the sky, then check the histogram. If the sky is clipping and you want detail in it, either use a graduated filter or expose for the sky and lift the shadows in editing — within reason, since heavy lifting brings noise. Evaluative metering with minus two-thirds of a stop is often a good starting point on a bright, cloudy day.
Birds in flight against grey cloud are a classic underexposure trap. Add around one stop and use evaluative metering, watching the histogram between bursts. For a small subject against a bright background, switch to spot and meter on the subject itself, or lock exposure on something mid-toned nearby.
Backlighting is beautiful and difficult. A translucent fern frond with the sun behind it will fool any meter. Meter on the brightest part of the leaf and let the background fall dark, or meter on the background and accept a glowing, blown-out leaf. Decide which you want before you press the shutter.
For your next few outings, pick one subject and shoot it three ways: as the camera suggests, one stop brighter, one stop darker. Look at the histograms alongside the images and note which you prefer. Then repeat with spot metering, once on a single highlight and once on a single shadow.
Within a few sessions you will start to predict what the meter will do. Once you can predict it, you can correct it in a second without thinking, and exposure stops being a source of anxiety and becomes just another part of how you photograph.
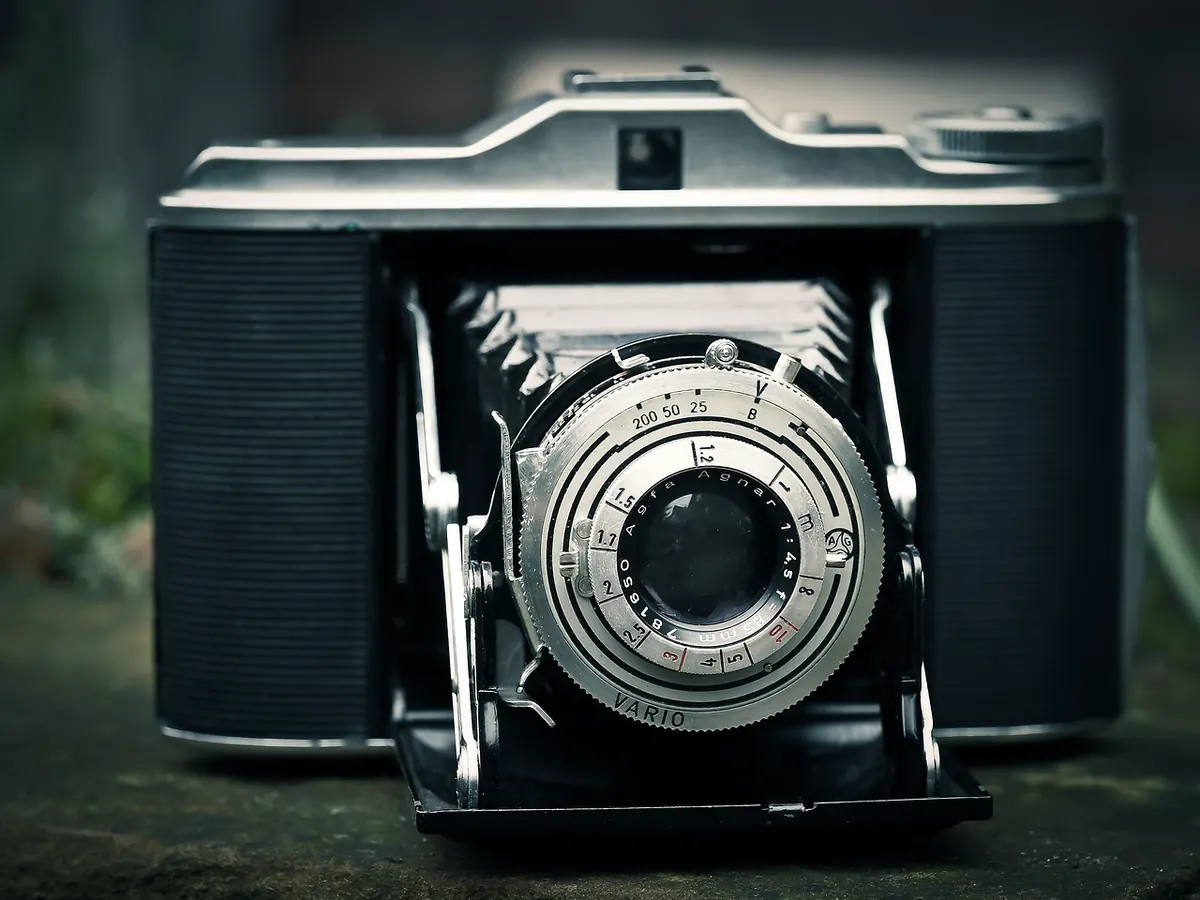
Photo: 652234 / Pixabay
A practical packing guide for nature photographers heading into the British outdoors, covering cameras, lenses, rain...
How to find, time and photograph Lake District fog — accessible viewpoints from Buttermere to Tarn Hows, exposure...
A practical guide to photographing Britain's spring wildflowers: reading the bluebell season, working with soft...

Exploring misty landscapes and quiet natural places.
